
What’s in the box
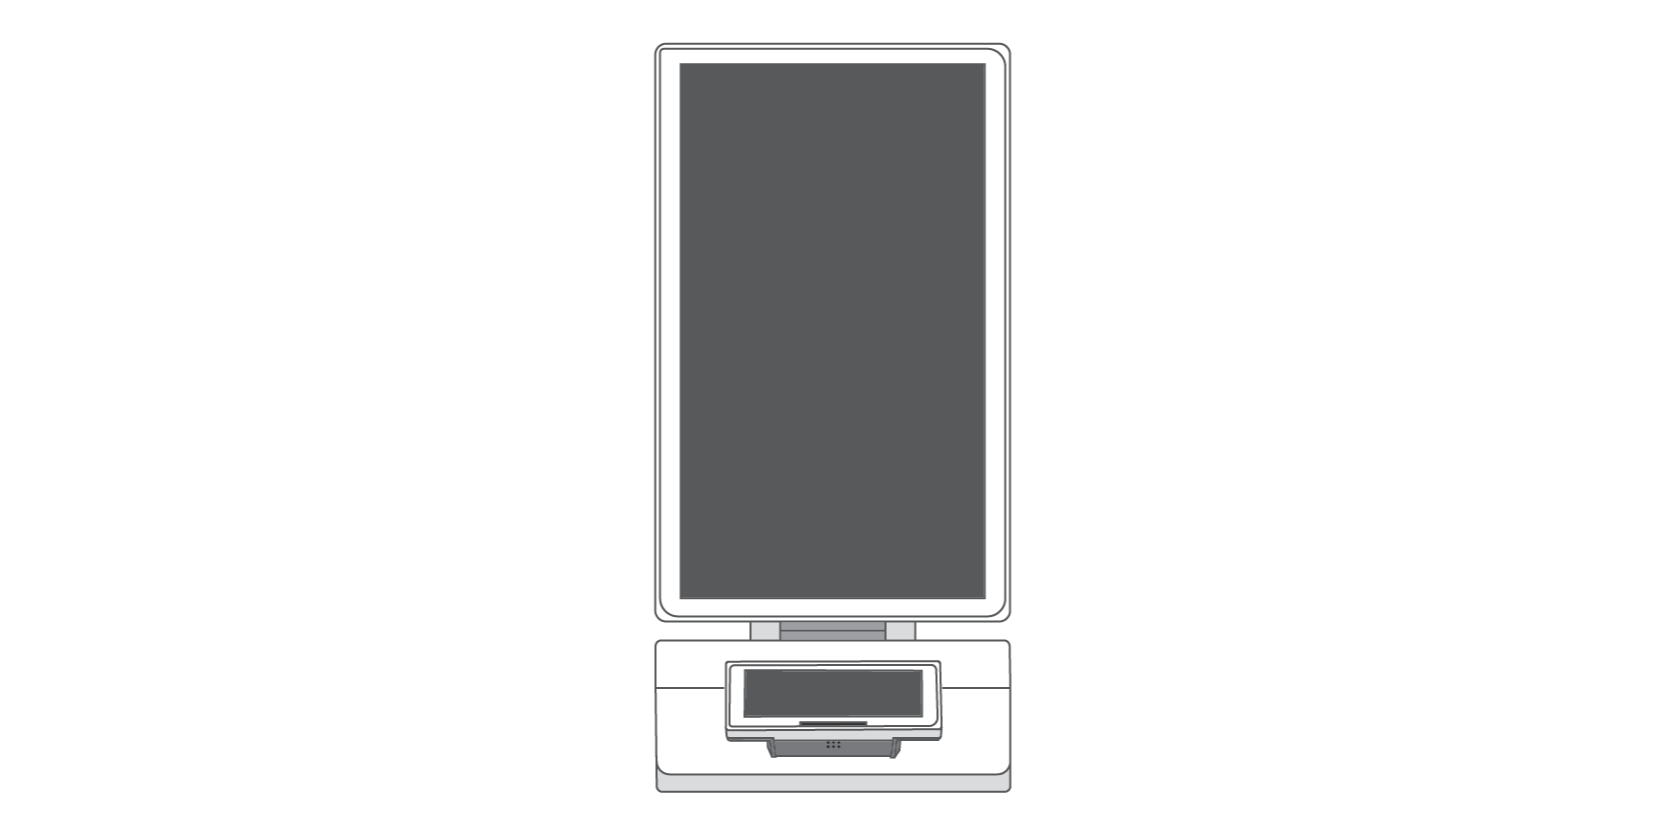
Kiosk display

Power cord

Receipt paper roll
Set up your Clover Kiosk
Once your Kiosk is connected to a power source and turned on, you will be guided through a number of first time use setup steps. These configurations are important for ensuring that your Clover Kiosk functions properly and routes orders correctly.
Note: All settings can be changed at any time by accessing Admin settings on the Kiosk. To access Admin settings, long-press on the Clover logo on the bottom left of the screen and enter your passcode. Settings can also be edited in the Setup app on your device’s home screen.
Mounting Kit Quick Start Guide (PDF)
Kiosk Floor Stand Quick Start Guide (PDF)
Below is an overview of some of the Kiosk settings:
The first time your Kiosk is powered on, the system will check to make sure that there are items in your account. If this is your first time using a Clover device, you will have the option to send yourself an email that outlines all of the necessary steps to add items to your Clover account.
-
Device name: Give your Clover Kiosk a name. This is helpful to differentiate between multiple kiosks.
-
Roll over order number: Order numbers will begin again at 1 once the roll over number is reached. Set a roll over order number that will apply across your Clover devices.
-
Order prefix: A unique character for each device to identify where an order originates. This will help differentiate between multiple Clover order devices. Tip: We recommend using unique prefixes for your devices, and using K for Kiosk.
-
Kiosk order routing: Configure which printer your Kiosk orders are sent to. If you have a Clover KDS, configure ticket routing in your KDS settings. For multiple order receipt printers, we recommend setting up Printer Labels in your dashboard to ensure orders are routed to the correct printer.
-
Accepted order types: Configure which order types your restaurant supports; Dine-in and takeout. These options will be provided to the customer when they begin the self-ordering process.
-
Customer information for order fulfillment: When this is turned on, customers will have the option to provide their name for order fulfillment. If the customer does not provide their name, they will be provided with an order number that may be used for fulfillment.
-
Order instructions: Create a message that will show up on the ‘thank you’ screen once a customer has paid for their order. This message will help guide the customer on how to retrieve their order once it’s ready.
-
Payment threshold for offline payments: Create a payment limit for allowing payments if the device loses service and goes offline.
-
Tips/signature: Configure in Setup app or on your dashboard. Adjusting tip suggestions will affect all Clover devices’ tip settings, but you can configure if you would like to capture or not capture Tips for each Kiosk.
-
Special instructions: Configure whether or not you would like to allow customers to add special instructions to their order. When active, this field will show on each item sold on Kiosk to allow customers to add customizations or call out preparation preferences or food allergies.
The first time your Kiosk is powered on, the system will check to make sure that there are items in your account. If this is your first time using a Clover device, you will have the option to send yourself an email that outlines all of the necessary steps to add items to your Clover account.